
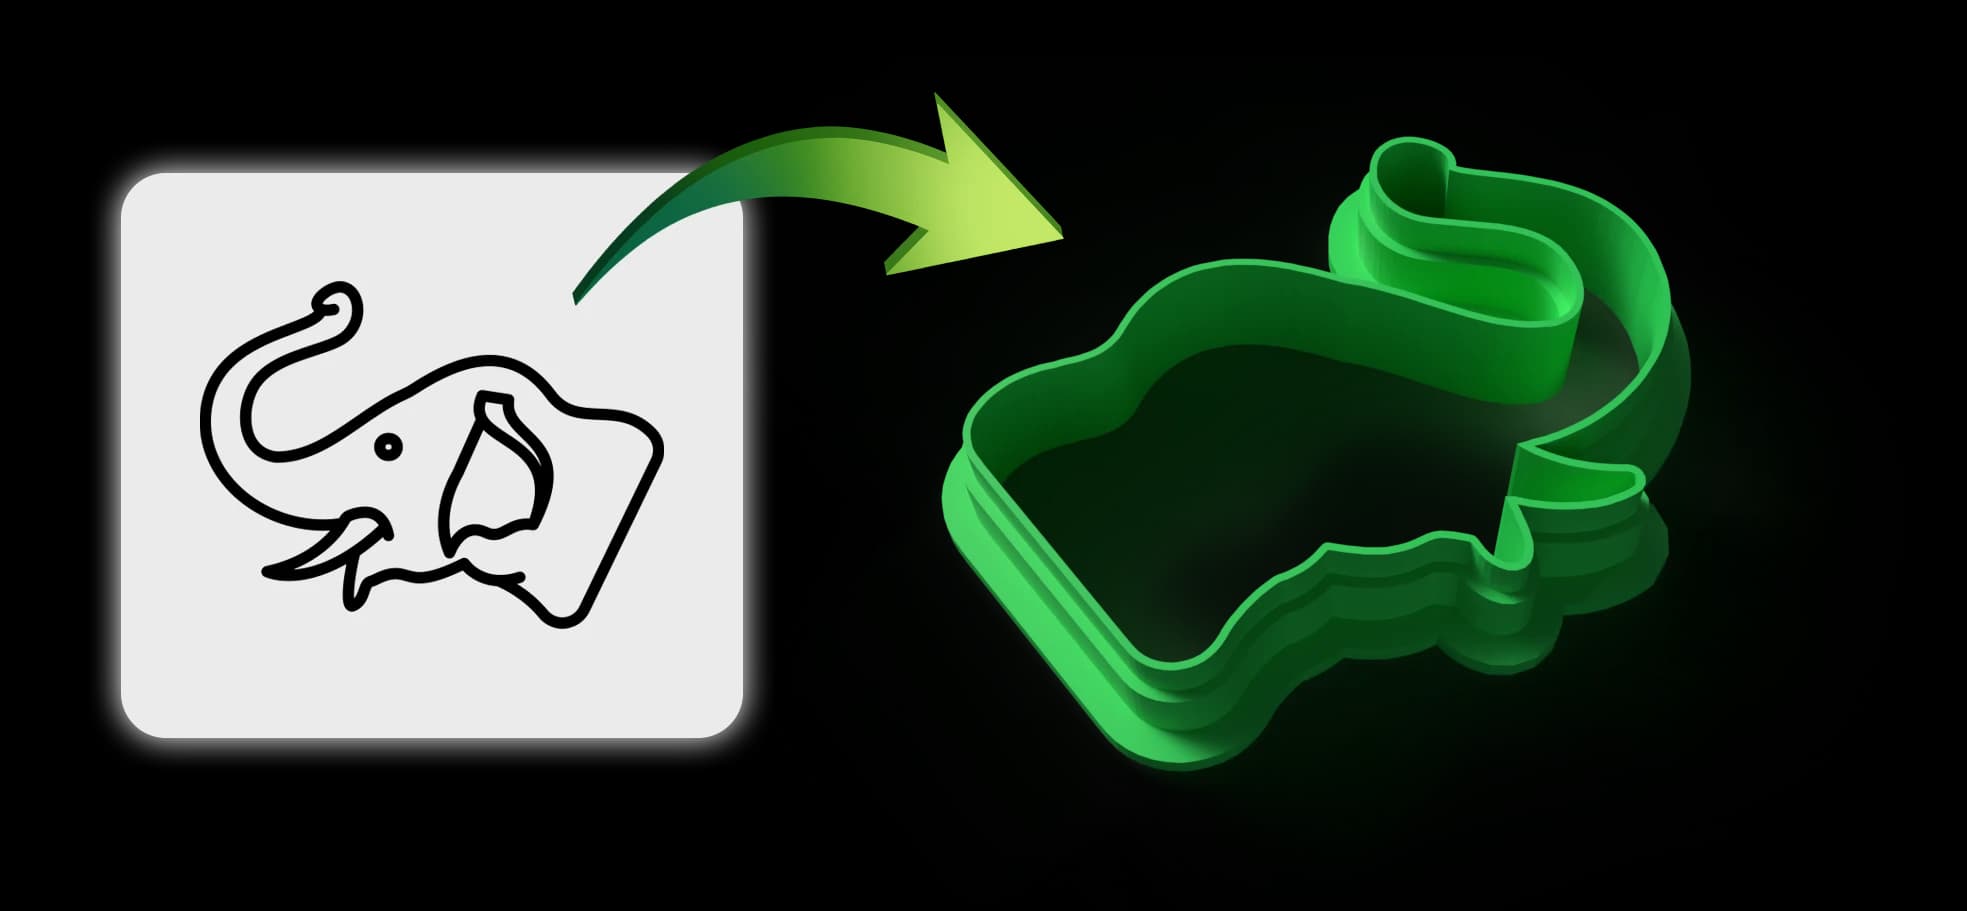
Outer cutting wall
Cutter Mode
Cutter mode builds the cutting wall from the outside shape of your artwork. It works best for clean logos, simple sketches, and clear silhouettes where the printer should create a tool that cuts around the design.
Tutorials
Watch the full Emozoc workflow for creating print-ready cutter, stamp, stencil, and complete stamp + cutter set files from a single image.
Tutorial overview
In this tutorial, you will learn how to use Emozoc to turn a 2D image into 3D printable STL files for cutters, stamps, 3D stencils, and complete stamp + cutter sets.
Covered in the video
Workflow
The core flow stays short so makers can focus on the shape, preview, and exported STL.

Step 1
Add a logo, sketch, SVG, or clean black-and-white image.
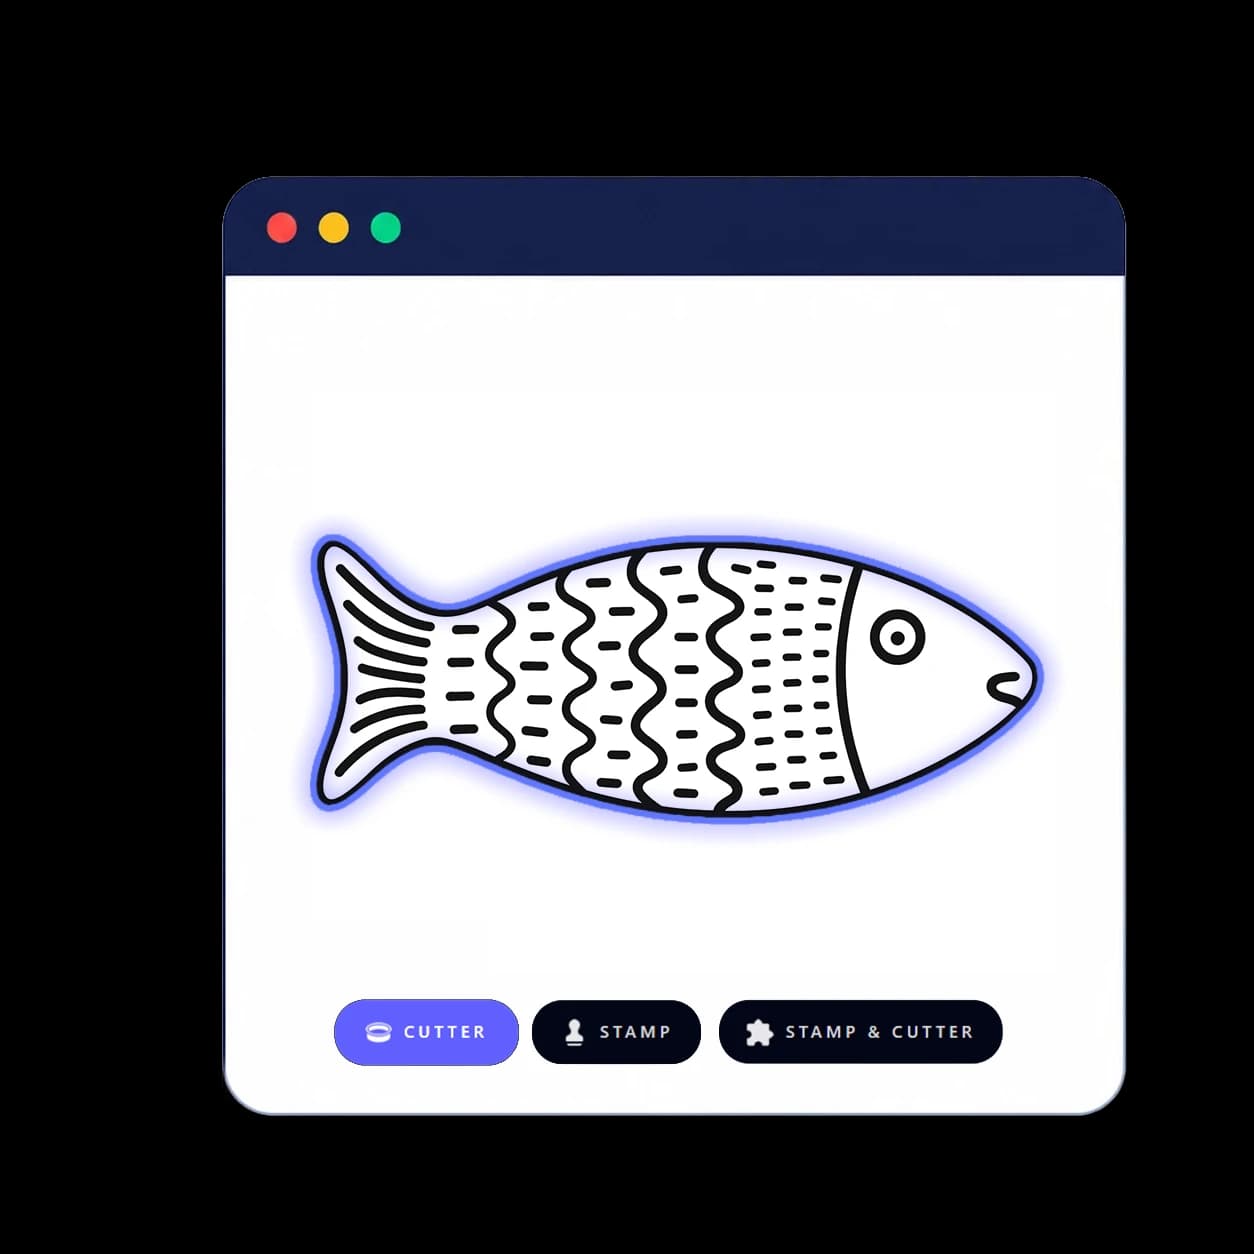
Step 2
Choose Cutter, Stamp, Stencil, or a matching stamp and cutter set.
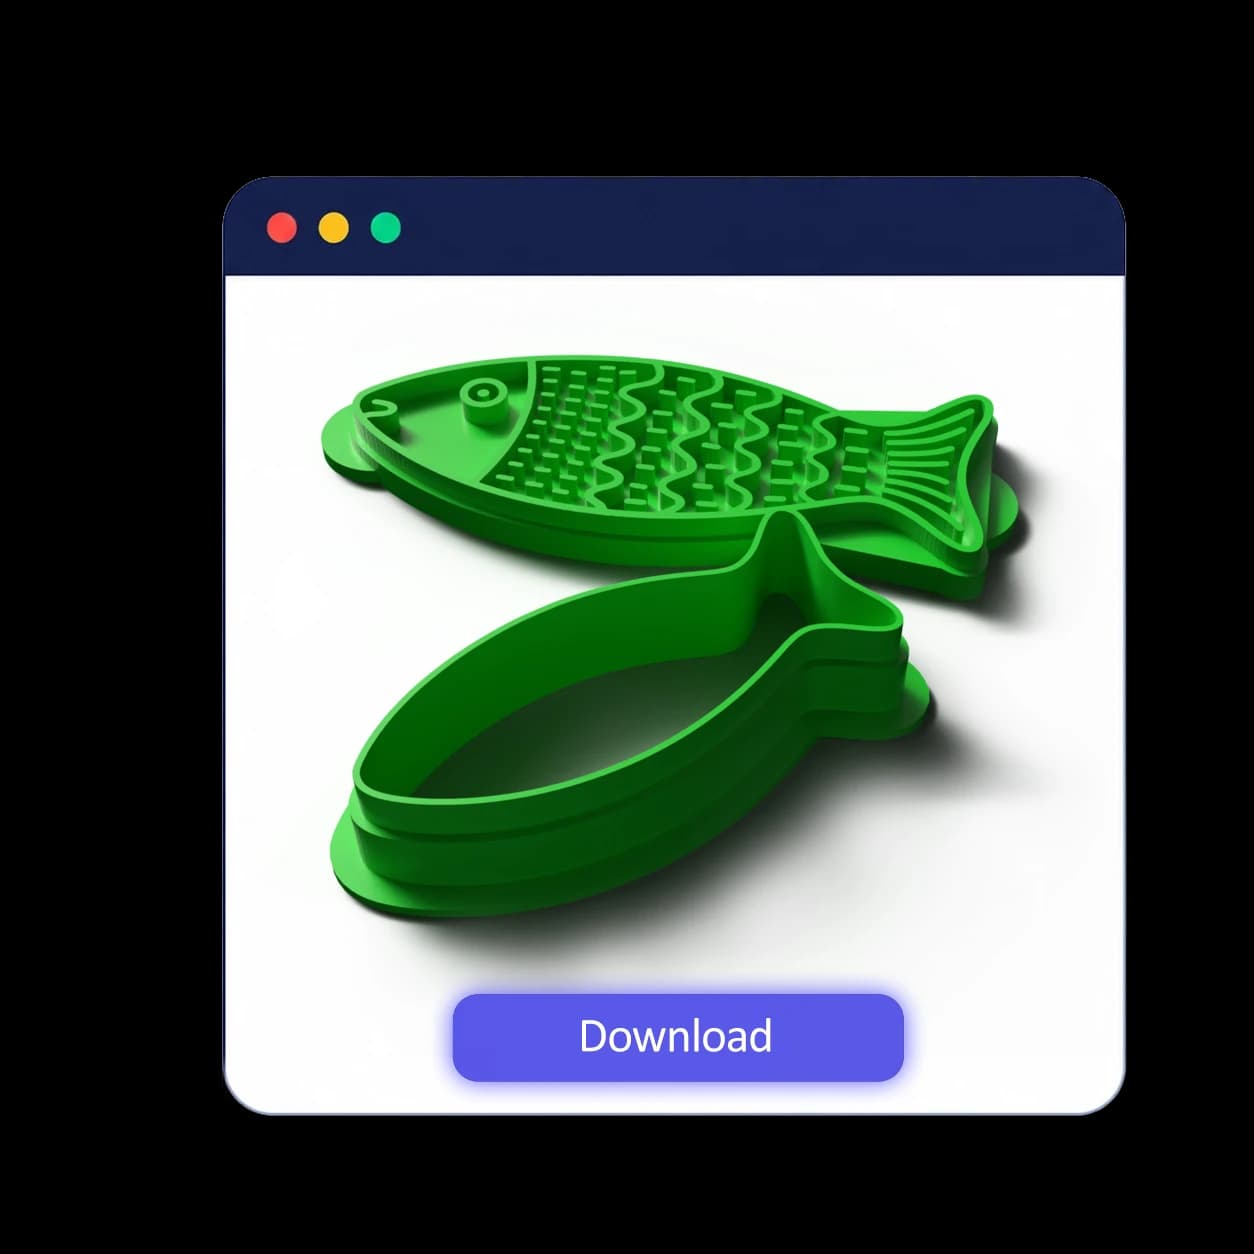
Step 3
Preview the model, then download the print-ready STL file.
Mode Guide
Each mode reads black and white artwork differently depending on whether you need a cutting wall, raised stamp detail, a stencil, or a matching set.
Outer cutting wall
Cutter mode builds the cutting wall from the outside shape of your artwork. It works best for clean logos, simple sketches, and clear silhouettes where the printer should create a tool that cuts around the design.
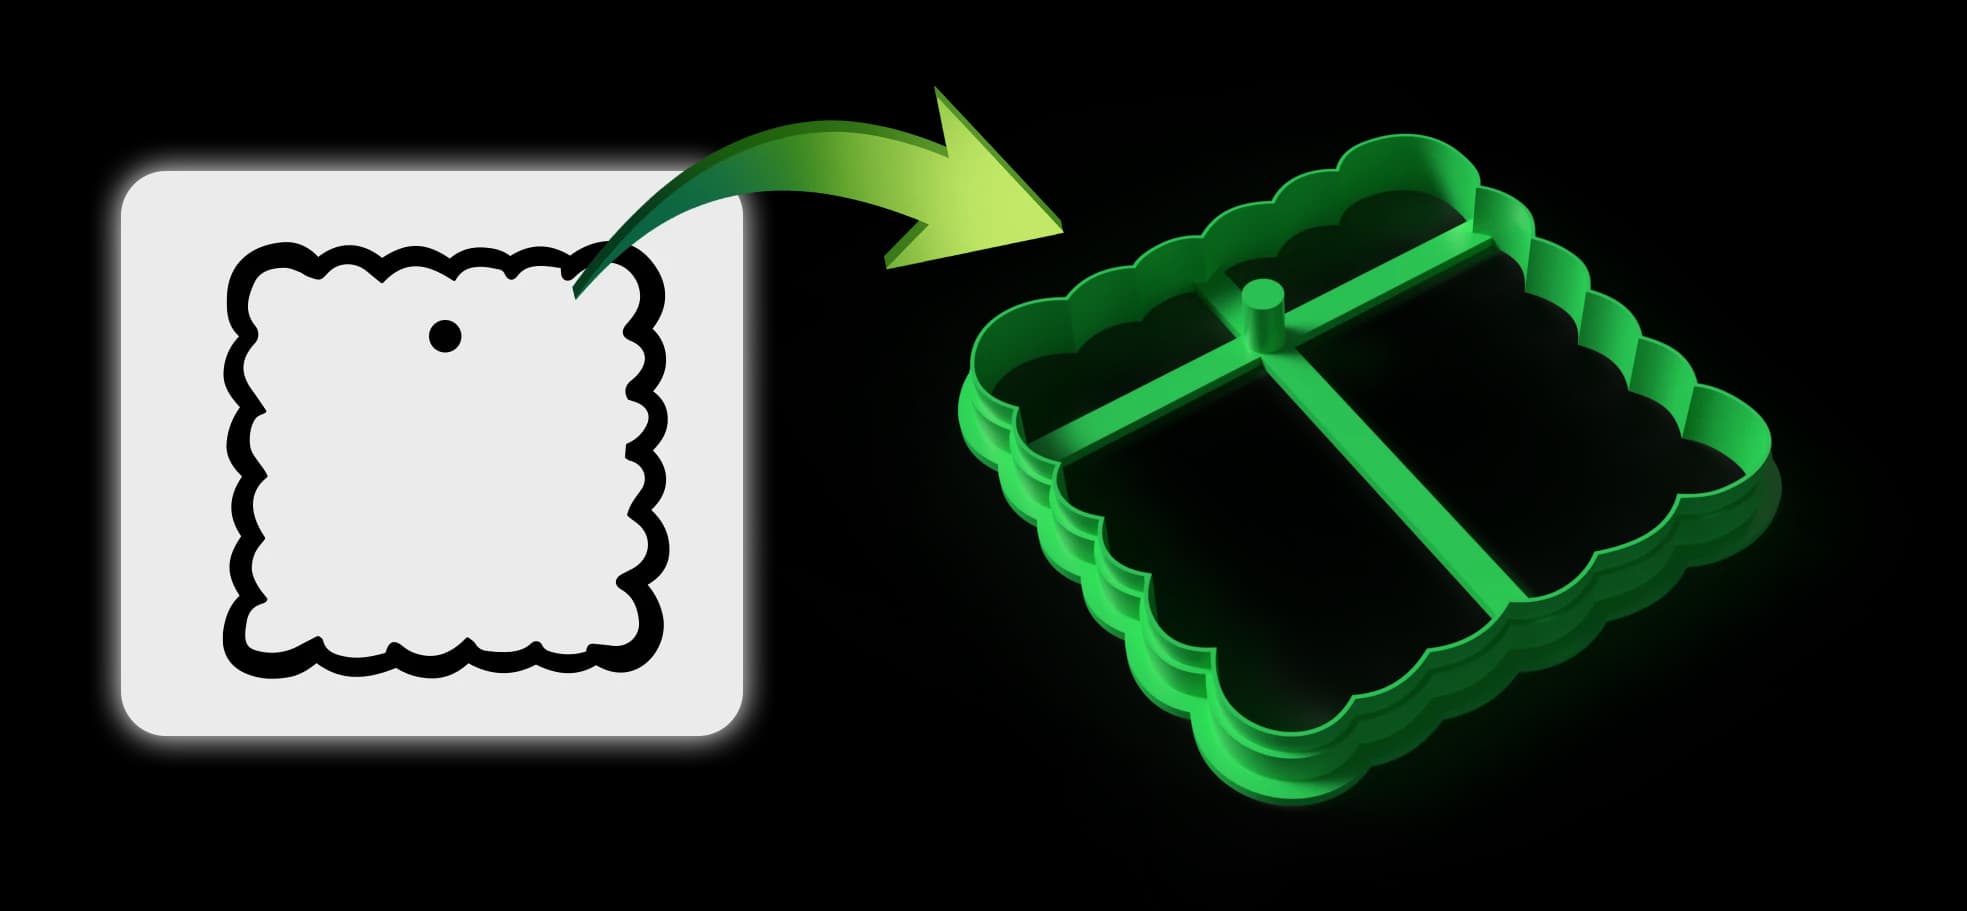
Simple internal cuts
Inner cutter can add a few simple internal cut lines for artwork with light detail. It is not designed for dense or highly detailed artwork. For fine artwork detail, switch on Stamp mode so the detail becomes raised relief instead of many fragile cutter walls.
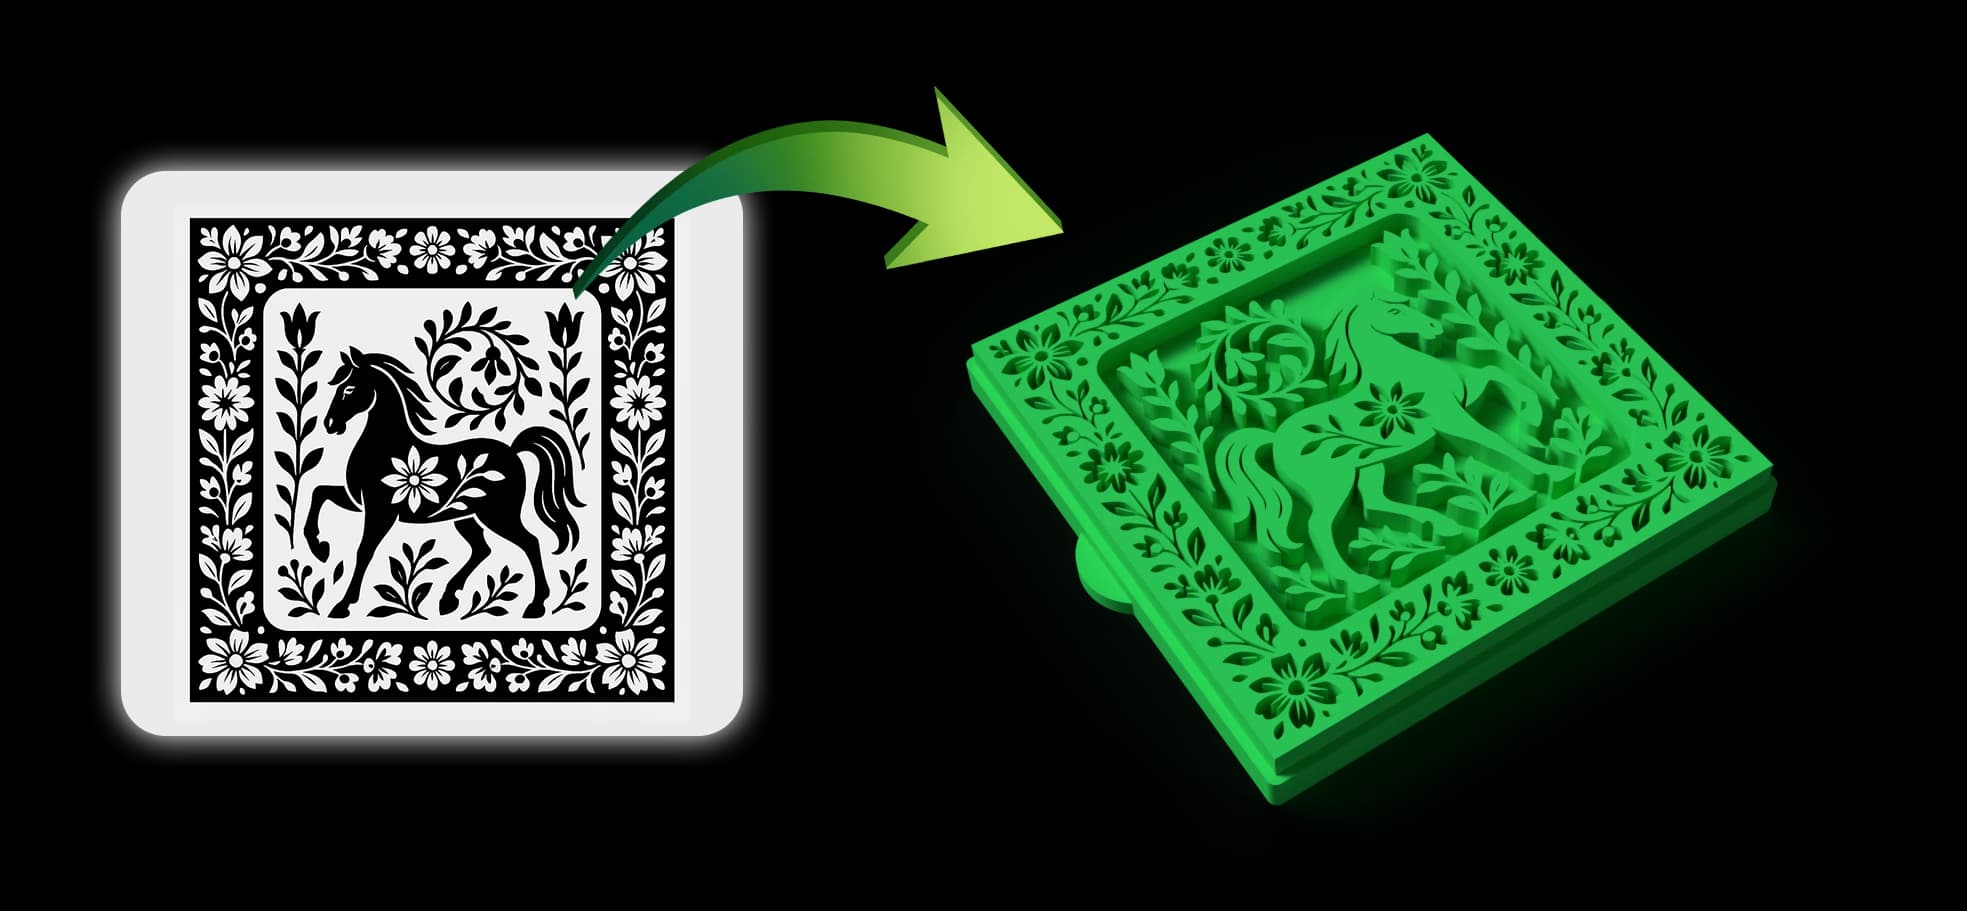
Raised artwork relief
Stamp mode is the best option for detailed artwork and large-type artwork. Black artwork areas become raised stamp detail, while white areas stay low, so the final print can press the design into clay, fondant, dough, or similar materials.
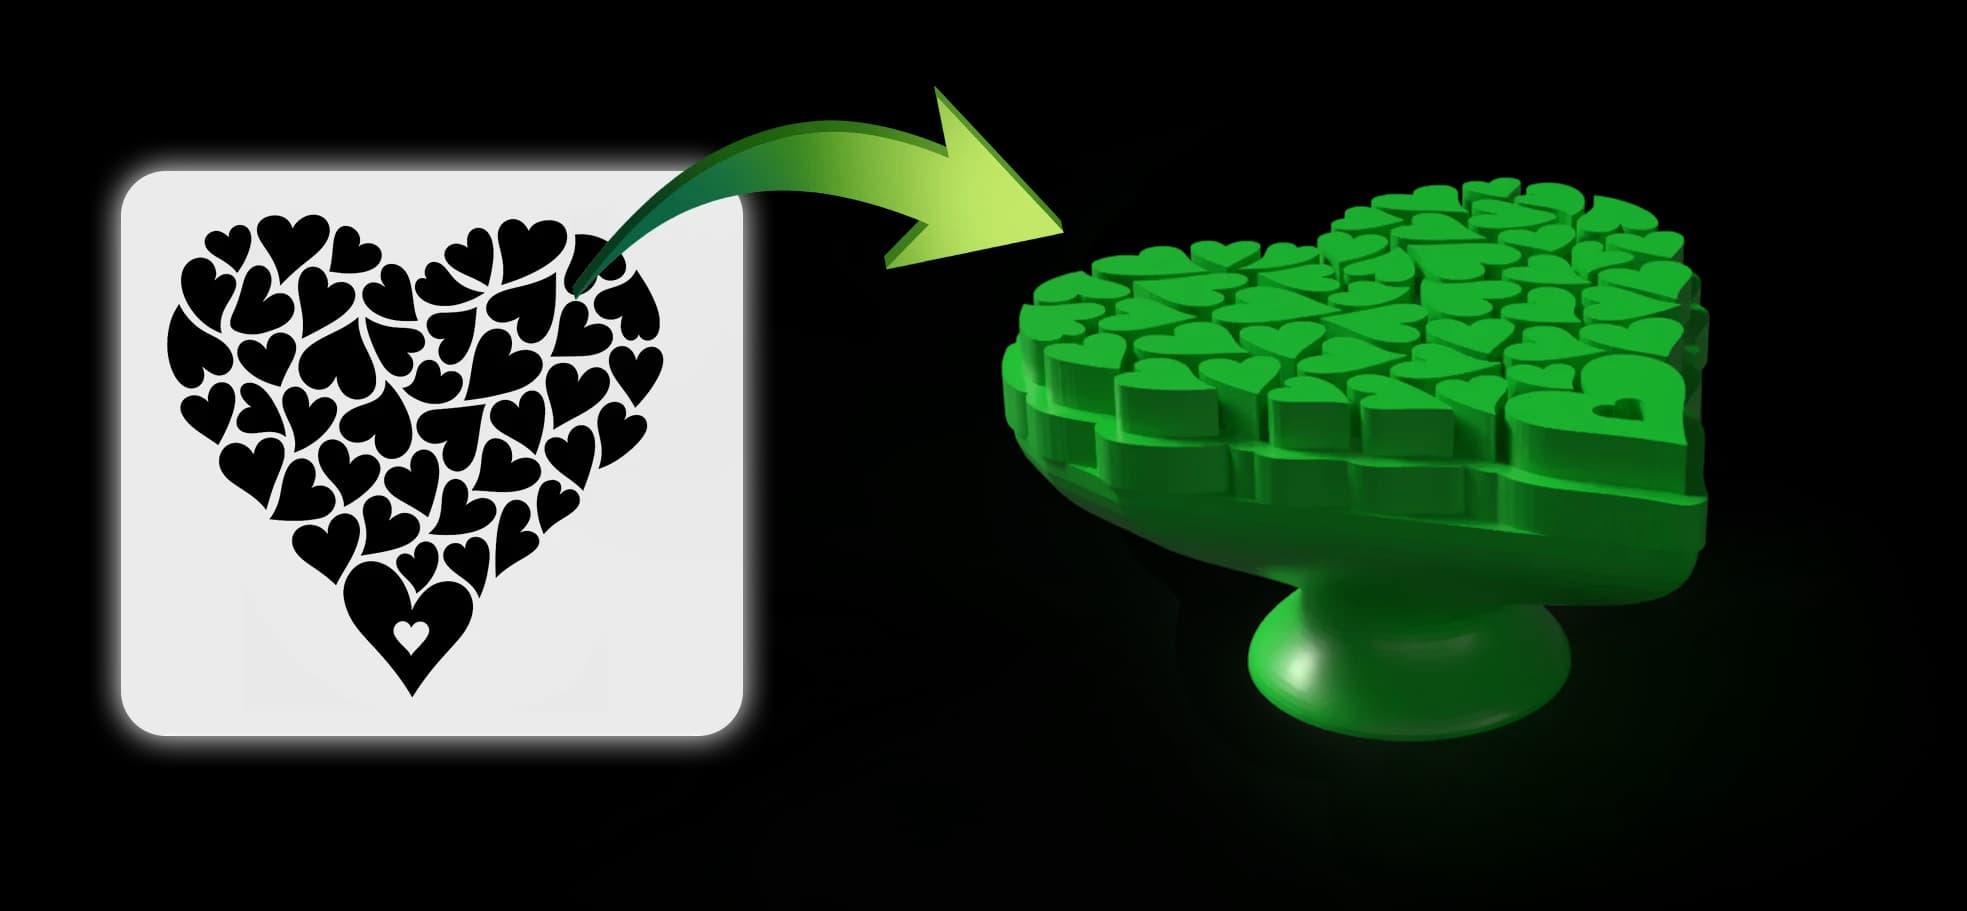
Small and large stamps
Stamp files under 50 mm use a top handle for easier pressing. When the model is more than 50 mm, Emozoc uses a side handle so larger stamps are easier to hold, align, and lift from the material.
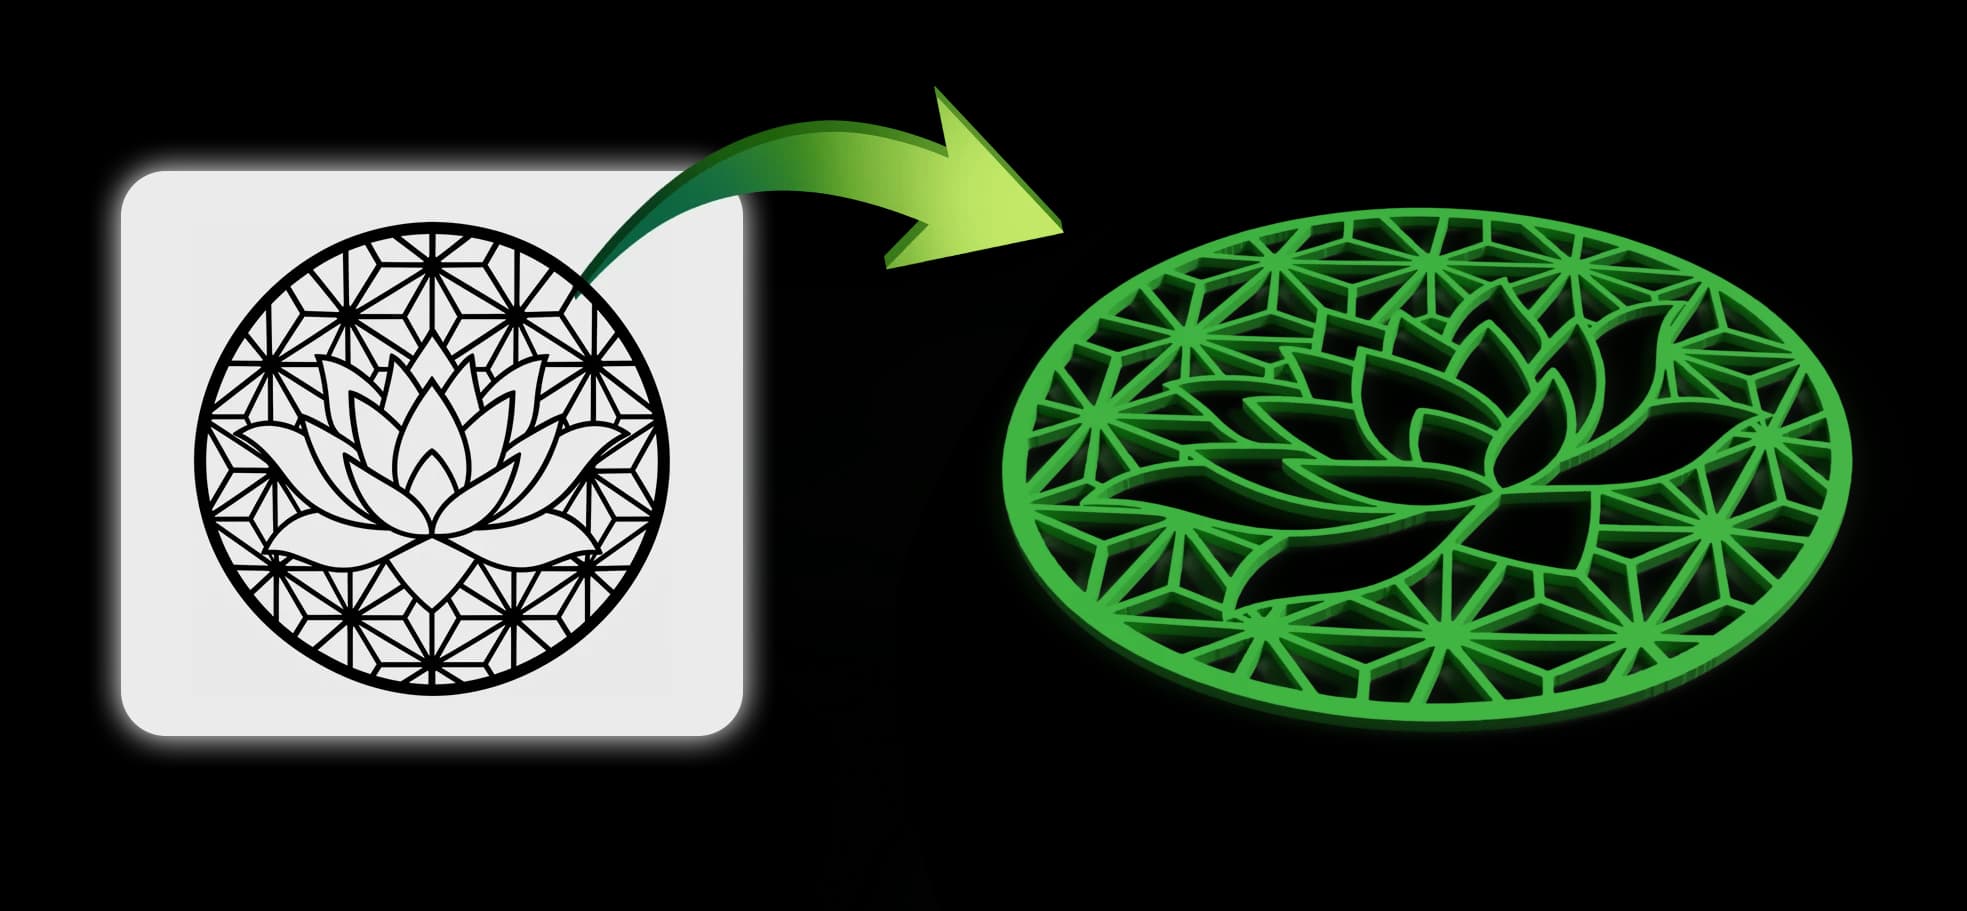
1 mm stencil height
Stencil mode creates a flat stencil with 1 mm height. Use artwork with connected black regions so the stencil prints as one usable piece. Disconnected islands may need artwork cleanup before generating.
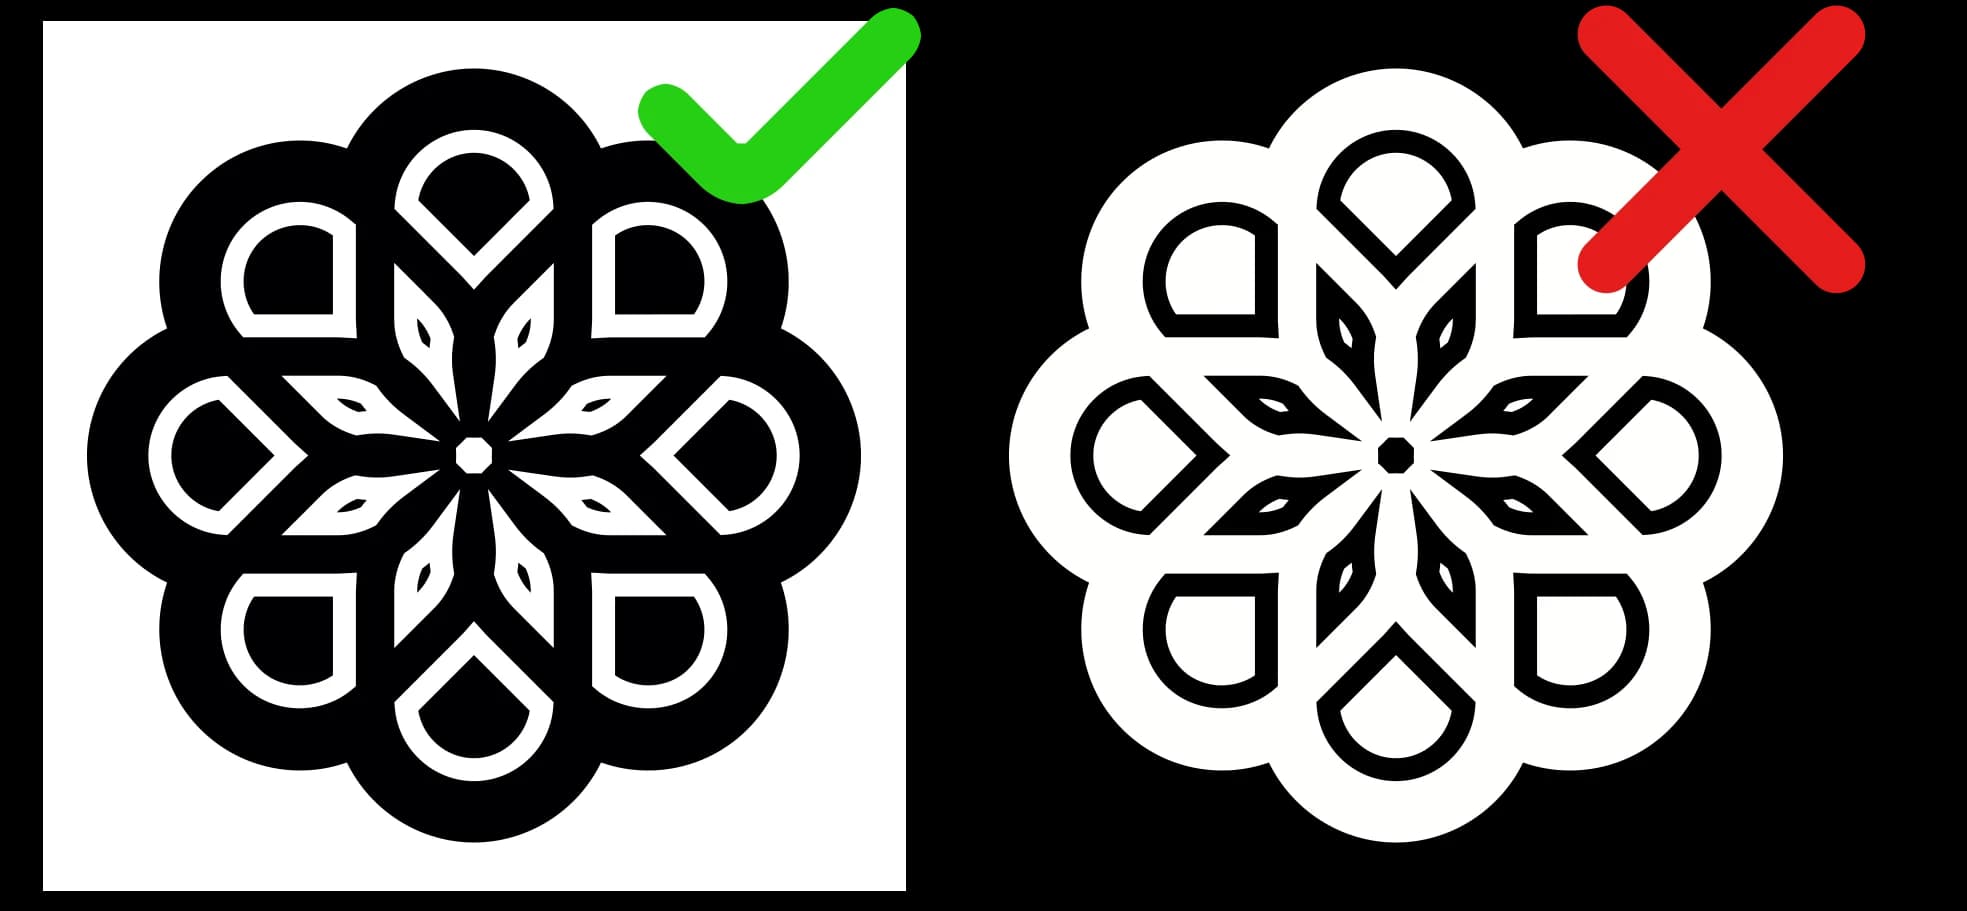
How artwork becomes geometry
Across Cutter, Stamp, Stencil, and Set modes, black areas define the generated geometry and white areas are left open or unraised. Clean contrast gives the most predictable STL result.
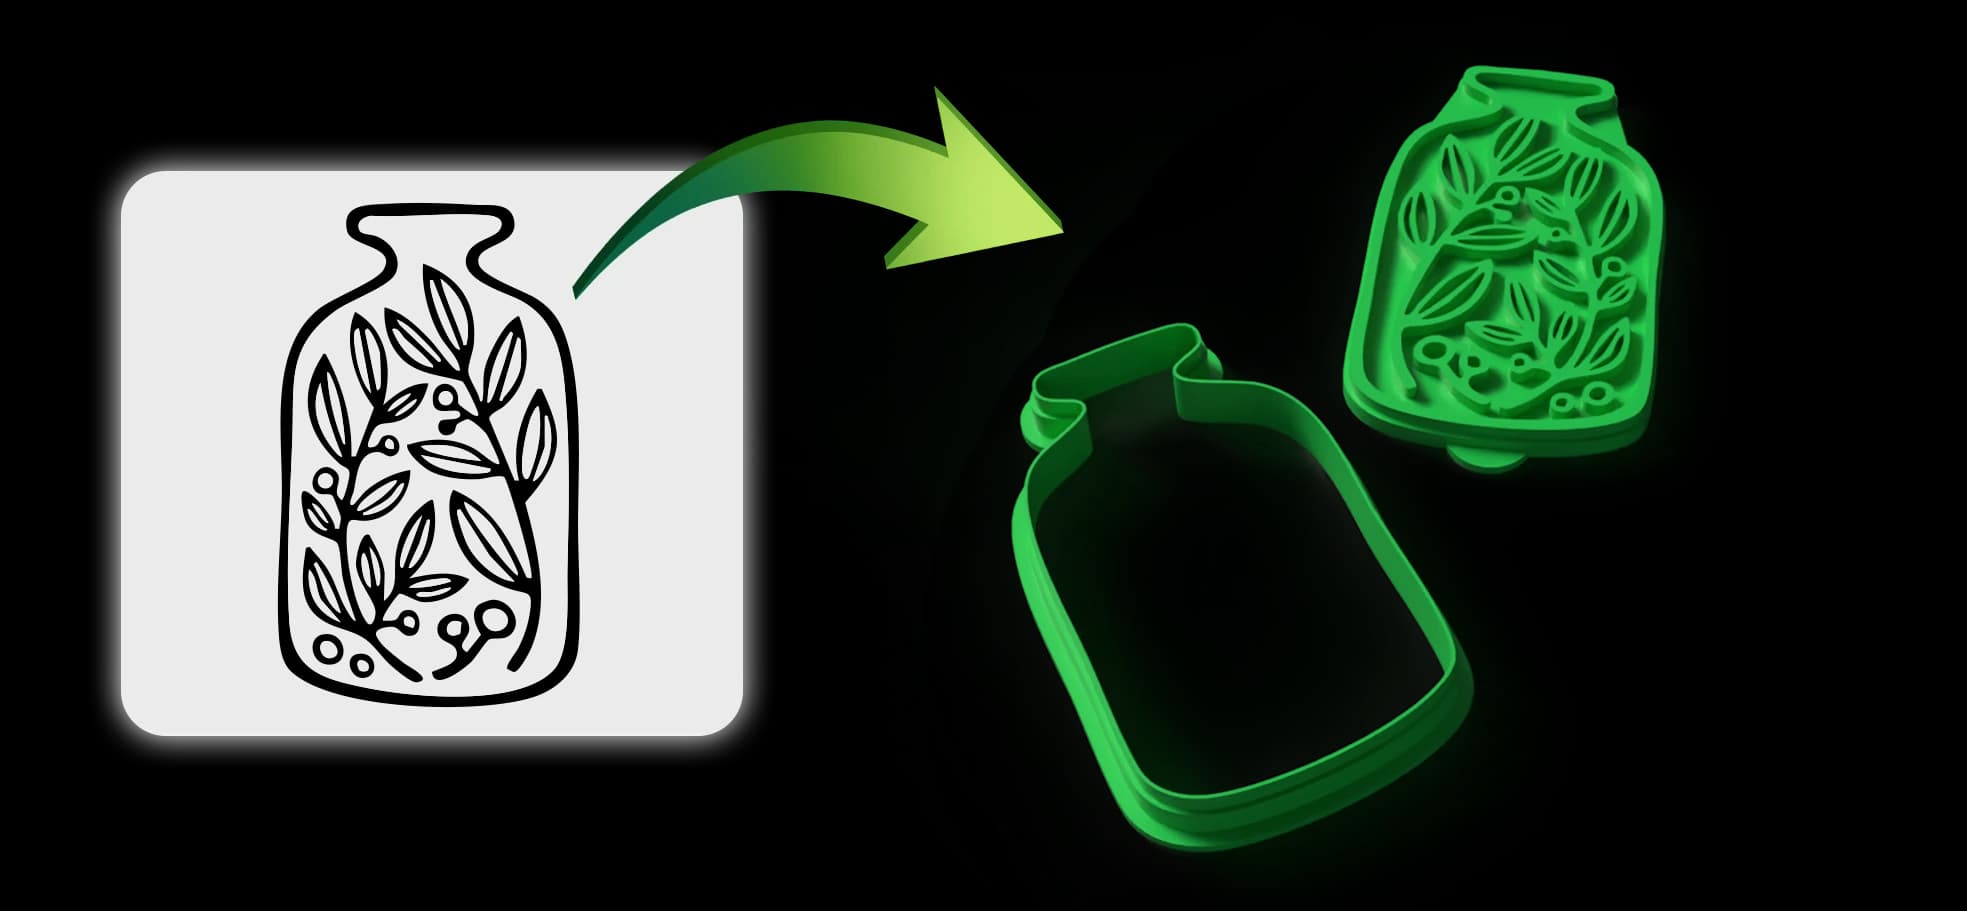
Stamp and cutter together
Set mode generates a matching cutter and stamp from the same artwork. Use it when you want the cutter to shape the material and the stamp to press the matching design detail into the surface.